After Using a Meat Slicer You Should Know
After using a meat slicer, the last thing you may want to do is clean it. However, I can’t emphasize enough how important this step is! It’s not just about keeping your kitchen sparkling; it’s also about maintaining the efficiency of your gadget and ensuring food safety.
Now, what do you need to keep in mind after using a meat slicer? First off, don’t rush the cleaning process. You’ve just handled raw meat, and that means there could be potential bacteria on your appliance. Secondly, make sure to unplug the device before you start cleaning – safety first!
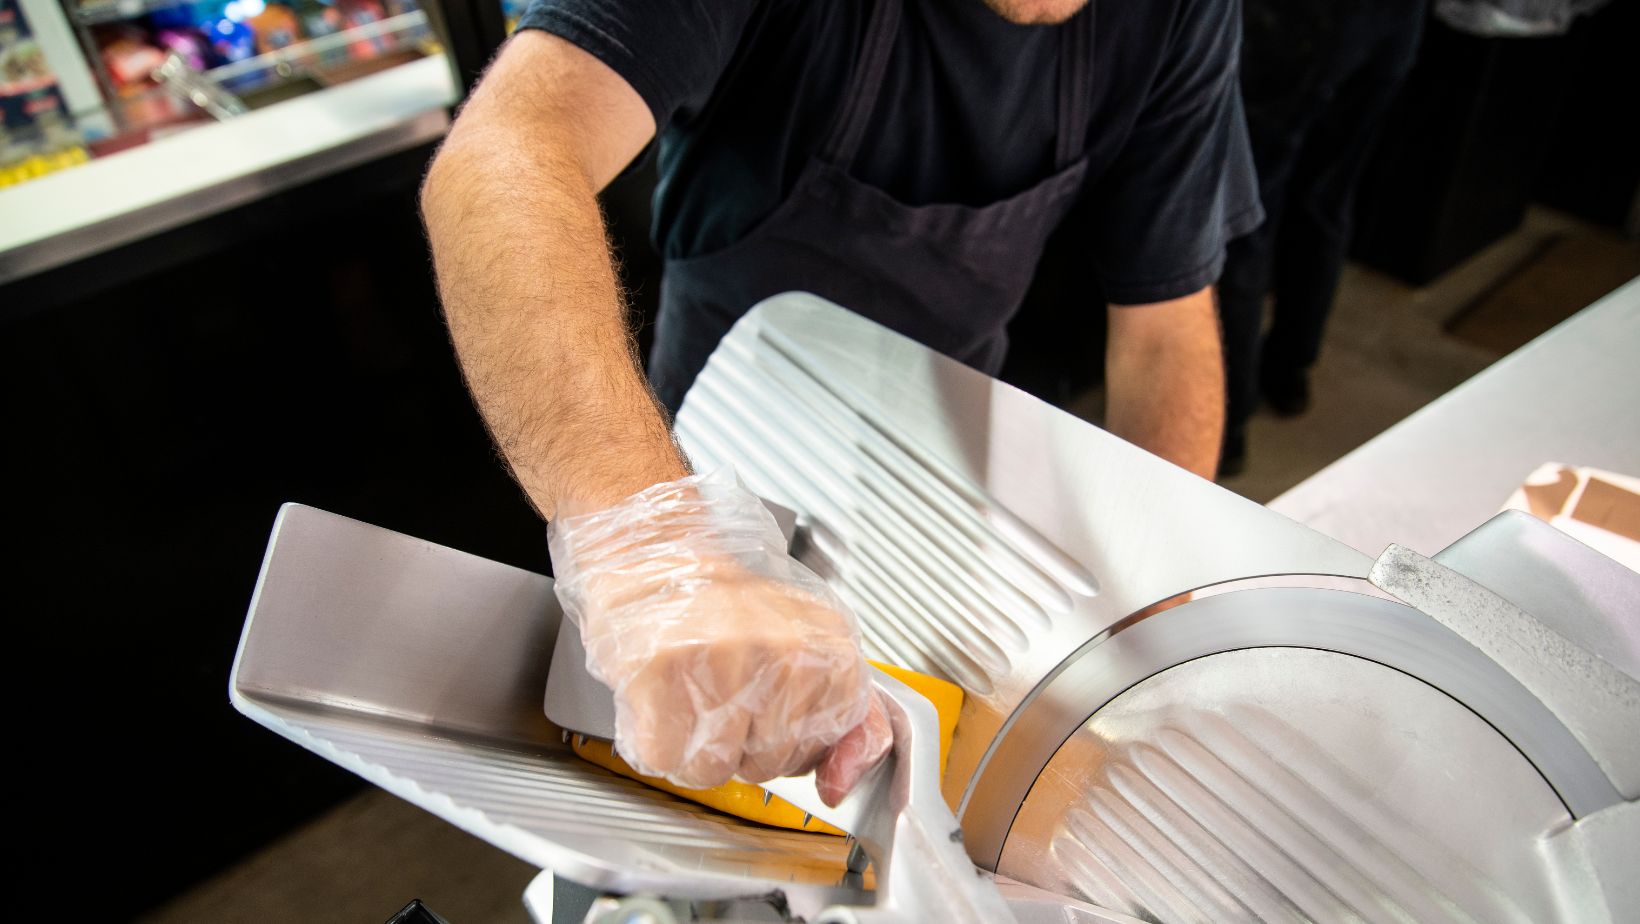
Lastly, remember that every part counts. Sure, it’s easy to focus on big pieces like blades or trays but don’t ignore the nooks and crannies where grime might hide. After all, thoroughness now saves headaches later! So after using a meat slicer, grab those gloves and get ready for some cleaning action.
The Importance of Cleaning After Using a Meat Slicer
If you’ve recently used a meat slicer, the next crucial step is cleaning it. Proper care and maintenance of your equipment can greatly extend its lifespan and ensure it’s always ready for use. After using a meat slicer, you should especially focus on cleanliness.
Why is this so important? Well, there are several key reasons when it comes to why cleaning a meat slicer after usage matters. For one thing, food particles can stick to the blade and other parts of the machine. Over time, these bits of food can breed bacteria which isn’t just unhygienic but downright dangerous.
Moreover, by not cleaning your meat slicer regularly, you’re risking cross-contamination between different types of meats or foods sliced using the same device. This could potentially lead to serious health concerns like foodborne illnesses.
So what’s my advice here? It’s simple; clean your meat slicer thoroughly after each use. Here are some steps that I’d recommend:
- Unplug the machine: Safety first! Always make sure to disconnect the power before starting with any type of clean-up.
- Remove detachable parts: Most meat slicers have removable components such as blades or food carriers which can be taken apart for more efficient cleaning.
- Clean every part carefully: Use warm soapy water and soft cloth or sponge to scrub off any stuck-on residue from all parts.
- Dry thoroughly: Once cleaned, dry each part completely before reassembling back onto the machine.
Admittedly, yes – it might seem like quite a bit of work at first glance but trust me when I say that regular clean-ups will save you a lot more hassle in the long run!
In summary: don’t underestimate how crucial this step is! Your health and safety are always worth taking those extra few minutes out of your day. Remember: after using a meat slicer, you should always prioritize giving it a good clean!
How to Disassemble Your Meat Slicer Safely
Taking apart your meat slicer after use might seem like an intimidating task, but it’s actually quite simple when you know the right steps. Properly disassembling your machine not only helps prolong its life but also ensures it remains clean for future usage. So, after using a meat slicer, you should definitely learn how to take it apart safely.
First off, always remember safety comes first. Before starting anything, make sure the unit is unplugged from any power source. This eliminates any chance of accidental activation while handling the blade or other parts.
The next step is removing the blade guard. It’s typically held in place by screws or clips that can be easily undone with a screwdriver or just your hands. Once removed, this exposes the blade for cleaning and inspection. Now comes the tricky part – removing the blade itself. It’s held in place by a center nut which needs to be unscrewed counter-clockwise (in most cases). Be extremely careful during this process; I’d recommend wearing cut-resistant gloves to prevent any accidents as blades can be incredibly sharp.
With these major components removed:
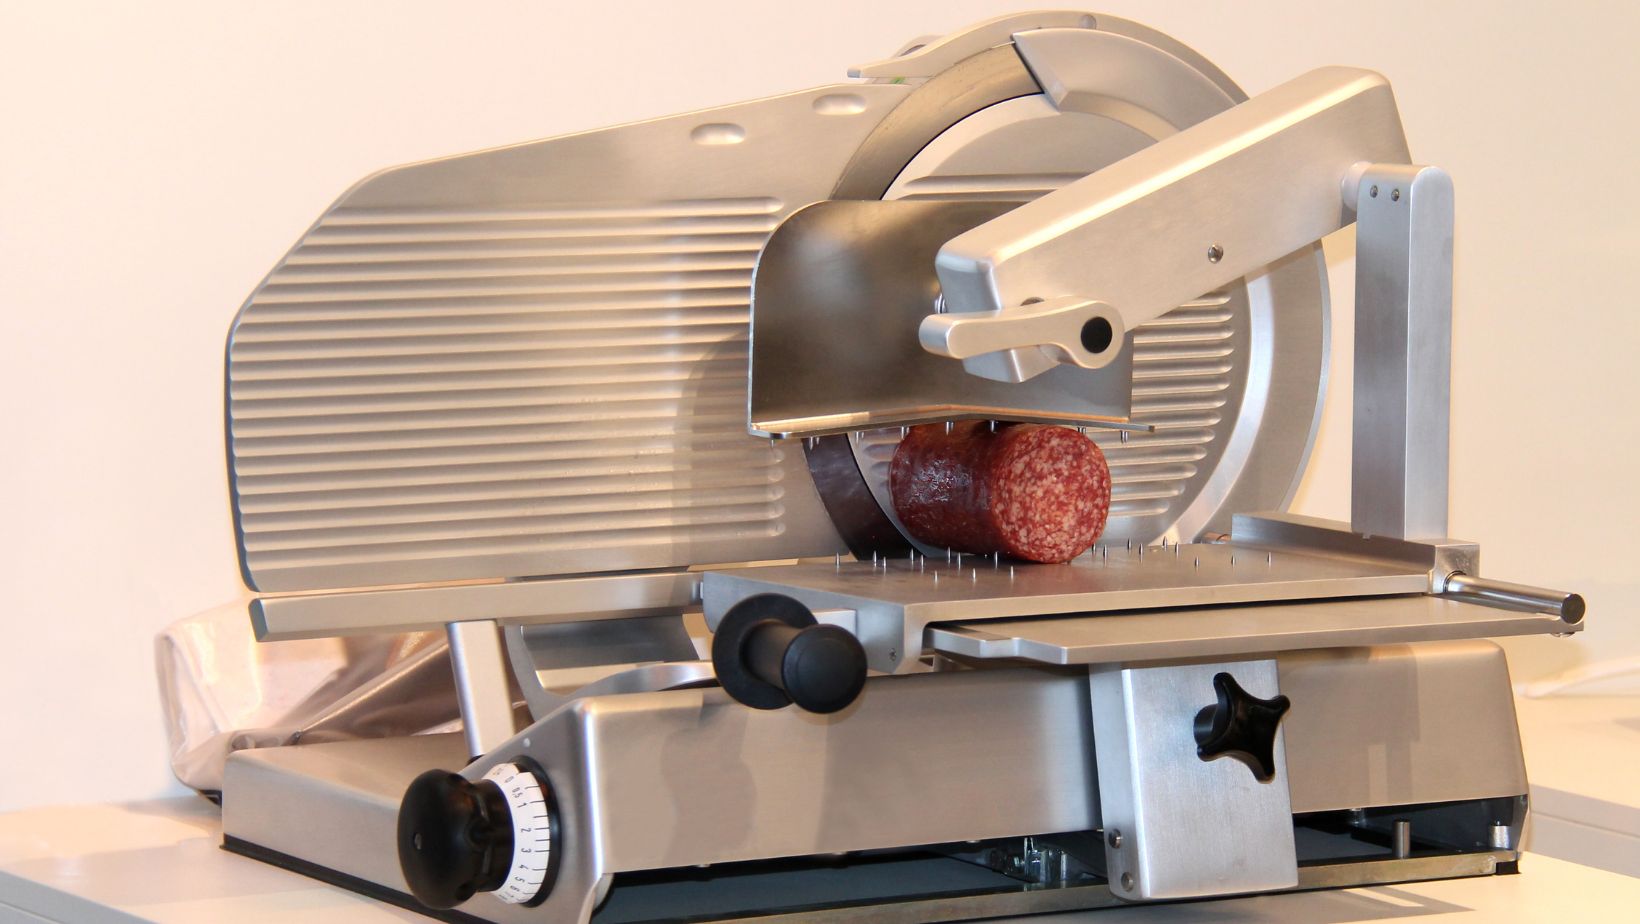
- The thickness control knob
- The product tray
- The pusher
- The gauge plate
you should now have full access to clean all those hard-to-reach areas where food particles tend to accumulate over time.
When reassembling everything back together after cleaning, simply reverse these steps and ensure each piece fits snugly into its correct position.


