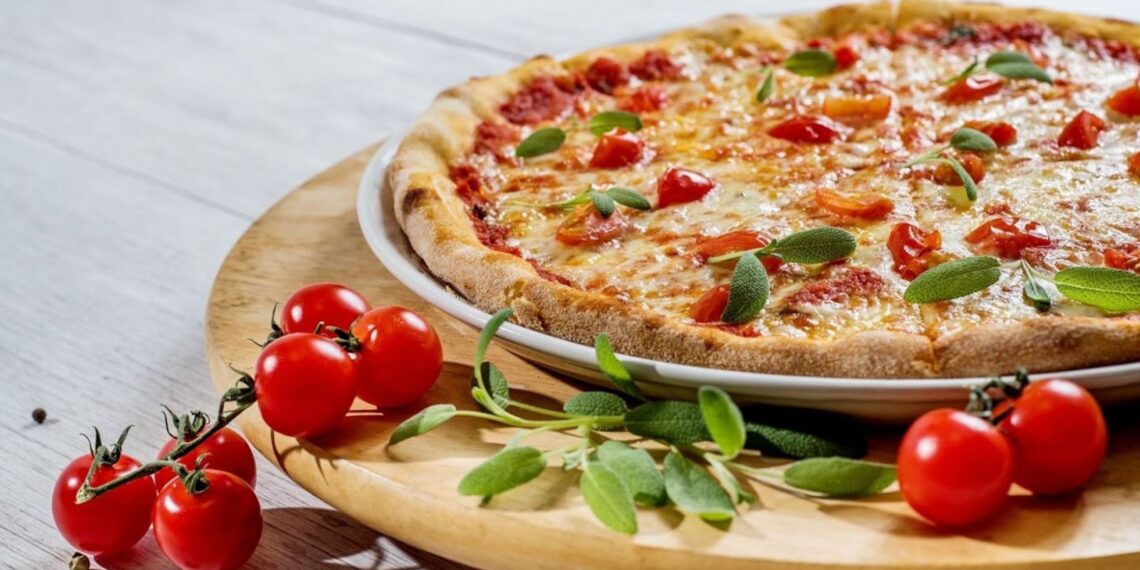
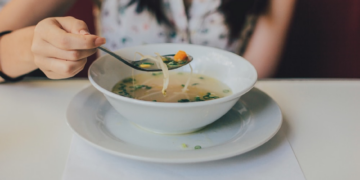
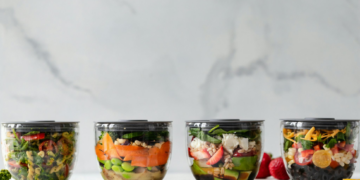
Where a single glance at a tasty dish can leave us salivating, mastering the art of capturing epic food photos has become more important than ever. With every click, we seek to transfer the symphony of flavors, textures, and colors that dance upon our plates, into appealing visuals.
From the sizzling pan to the delicate arrangement on the table, food photography is a journey that leaves a lasting impression on those who feast their eyes on the culinary art. But how do we go beyond merely snapping a quick picture and truly elevate our food photography to new heights?
In this guide, we dive into the tricks and tips of taking extraordinary food photos.
Equipment and Preparation
When taking food photos, having the right equipment and preparing the perfect setup is key. These aspects lay foundation to capturing epic food photos:
- Camera and Lens Selection: Choose a digital camera with manual settings for greater control.
- Opt for a versatile lens with a focal length between 35mm and 50mm for capturing food details without distortion.
- Tripod and Remote Shutter Release: Use a sturdy tripod to achieve stability and eliminate camera shake. Consider using a remote shutter release or self-timer function to minimize movement during the shot.
- Clean and Presentable Tableware: Thoroughly clean plates, cutlery, and glasses before photographing. Ensure tableware is free from smudges, fingerprints, or distracting marks.
Aspects to Cater When Taking Epic Food Photos
Photo-Ready Your Food
When taking food photos, preparing the food is more than just cooking. While the primary goal of cooking is to create a delicious and satisfying meal, preparing food for a photoshoot involves crafting an enticing visual experience that captivates viewers’ attention. The food should look as delicious as it tastes, enticing viewers to imagine the flavors and textures.
You can transform an ordinary dish into a visual masterpiece by carefully arranging the ingredients, paying attention to plating techniques, and using presentation techniques such as garnishing and adding texture. Plating techniques enhance the visual appeal of the dish, create a balanced composition, and highlight the key elements of culinary creation. Here are some common plating techniques used in food photography:
- Stack or Layering: This involves creating layers of different components, such as stacking slices of meat or vegetables, or layering ingredients to create a balanced composition. It adds depth and dimension to the dish.
- Drizzling or Sauce Swirls: Adding drizzles or artistic swirls of sauces or dressings adds interest and elegance to the plate. It draws attention to specific areas of the dish.
- Garnishing: Garnishing involves strategically placing edible elements, such as herbs, microgreens, edible flowers, or citrus zest, to enhance the overall appearance of the dish. It adds color, texture, and a fresh touch to the composition.
- Arranging Ingredients: Placing the ingredients thoughtfully on the plate contributes to an appealing presentation. This includes arranging components in a geometric pattern, creating a radial design, or placing them asymmetrically for aesthetics.
- Negative Space: Leaving empty spaces on the plate, also known as negative space, can provide breathing room and allow the main components of the dish to stand out. It helps in creating a sense of balance and elegance in the composition.
- Color Contrast: Contrasting colors create a sense of balance and attract the viewers. Complementary or contrasting hues can be incorporated by choosing ingredients, sauces, or accessories to make the photo pop.
Lighting Setup
Lighting plays a crucial role in food photography, setting the mood, enhancing textures, and bringing out the vibrant colors of the dish. These are the key aspects of lighting setup to create stunning food photos:
- Natural Light vs. Artificial Light: Natural light is often preferred in food photography as it provides a soft, diffused illumination that showcases the food’s natural beauty. However, artificial light, such as studio lights or continuous lighting, is useful when working in low-light environments or when you need more control over the lighting.
- Diffusing and Controlling Light: Consider diffusing the light source to soften harsh shadows and create a gentle, even illumination. Use diffusers like white sheets, curtains, or specialized light modifiers.
- Avoid Lighting from the Front: Direct front lighting can flatten the appearance and texture of food and create unappealing shadows. Try lighting the dish from the side or at a slight angle to create depth and enhance textures
Editing and Post-Processing
Editing is not just an afterthought but an essential part of the creative process. It allows you to bring out the full potential of your food photography. Enhance the colors, adjust the exposure, and refine every detail of your food photography. The role of editing goes beyond basic adjustments. With just a few clicks, you can intensify the vibrancy of the colors, fine-tune the highlights and shadows to prominent the textures and create a captivating depth that draws viewers in. The background remover is a powerful editing tool that takes your food photos to the next level. You can eliminate distracting elements from the composition or change the entire background to a solid color. This directs the viewer’s attention straight to the star of the show—the delicious food you’ve captured.
So there you have it—tips and tricks on taking epic food photos that will leave your audience craving for more. It’s not just about capturing the flavors and textures of the dish but also about creating a visual experience that awakens the senses. Experiment with different plating techniques to enhance the appeal of your dishes. Play with colors, textures, and negative space to create striking and balanced compositions. Use lighting, whether it’s natural or artificial, to set the mood and highlight the best features of your food. Finally, editing is your finishing touch, allowing you to bring out the full potential of your food photos and make them truly stand out.
