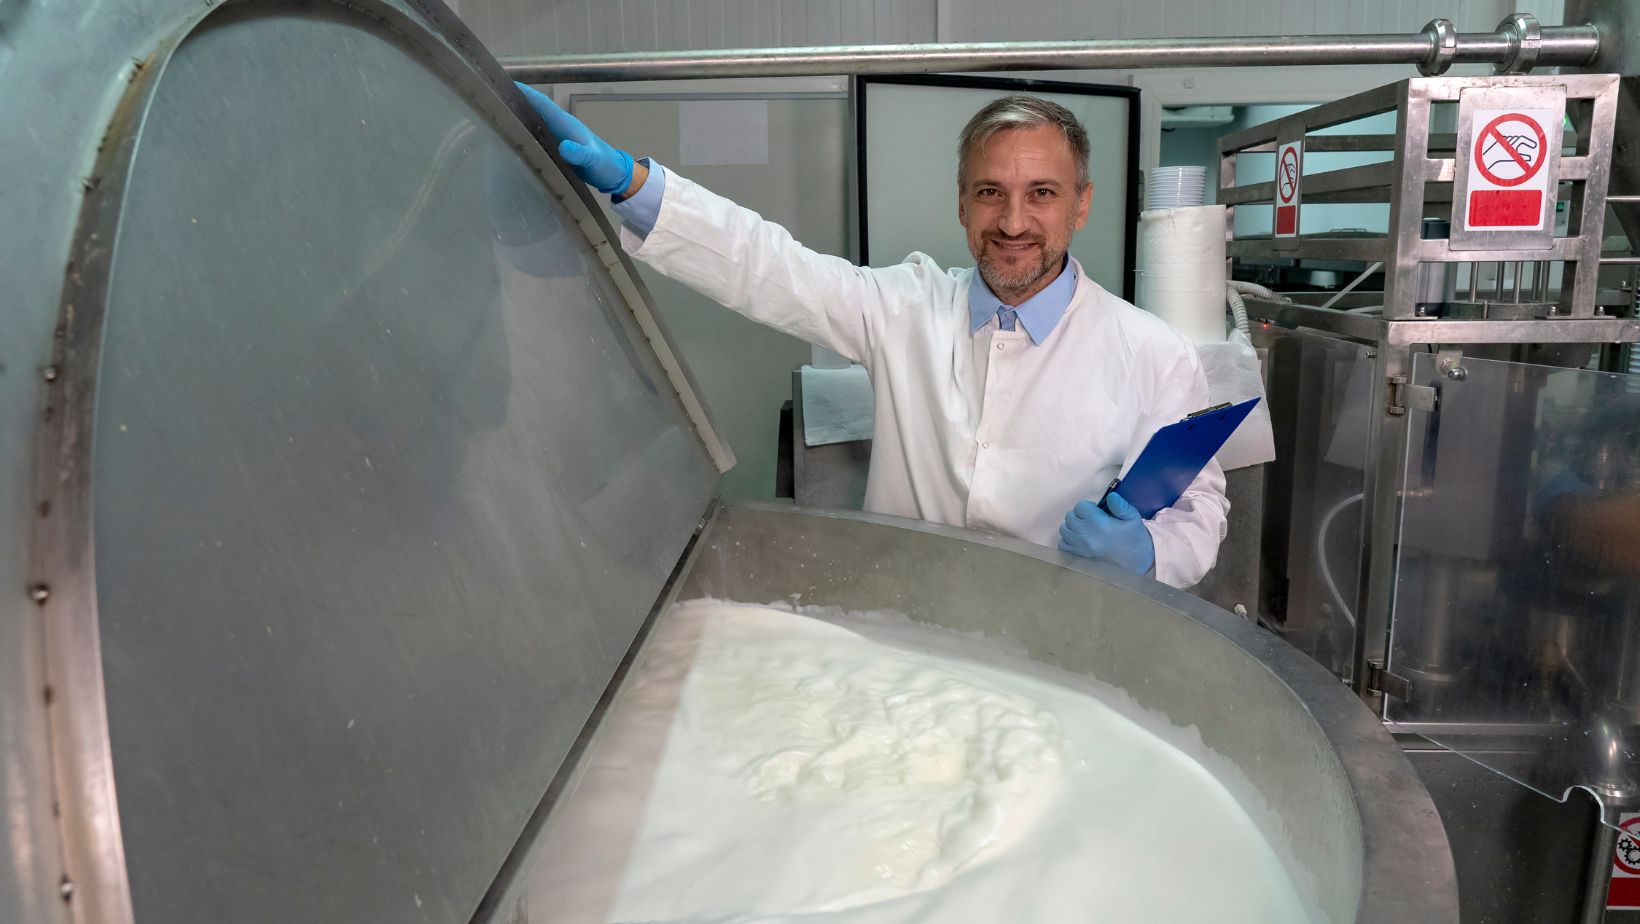
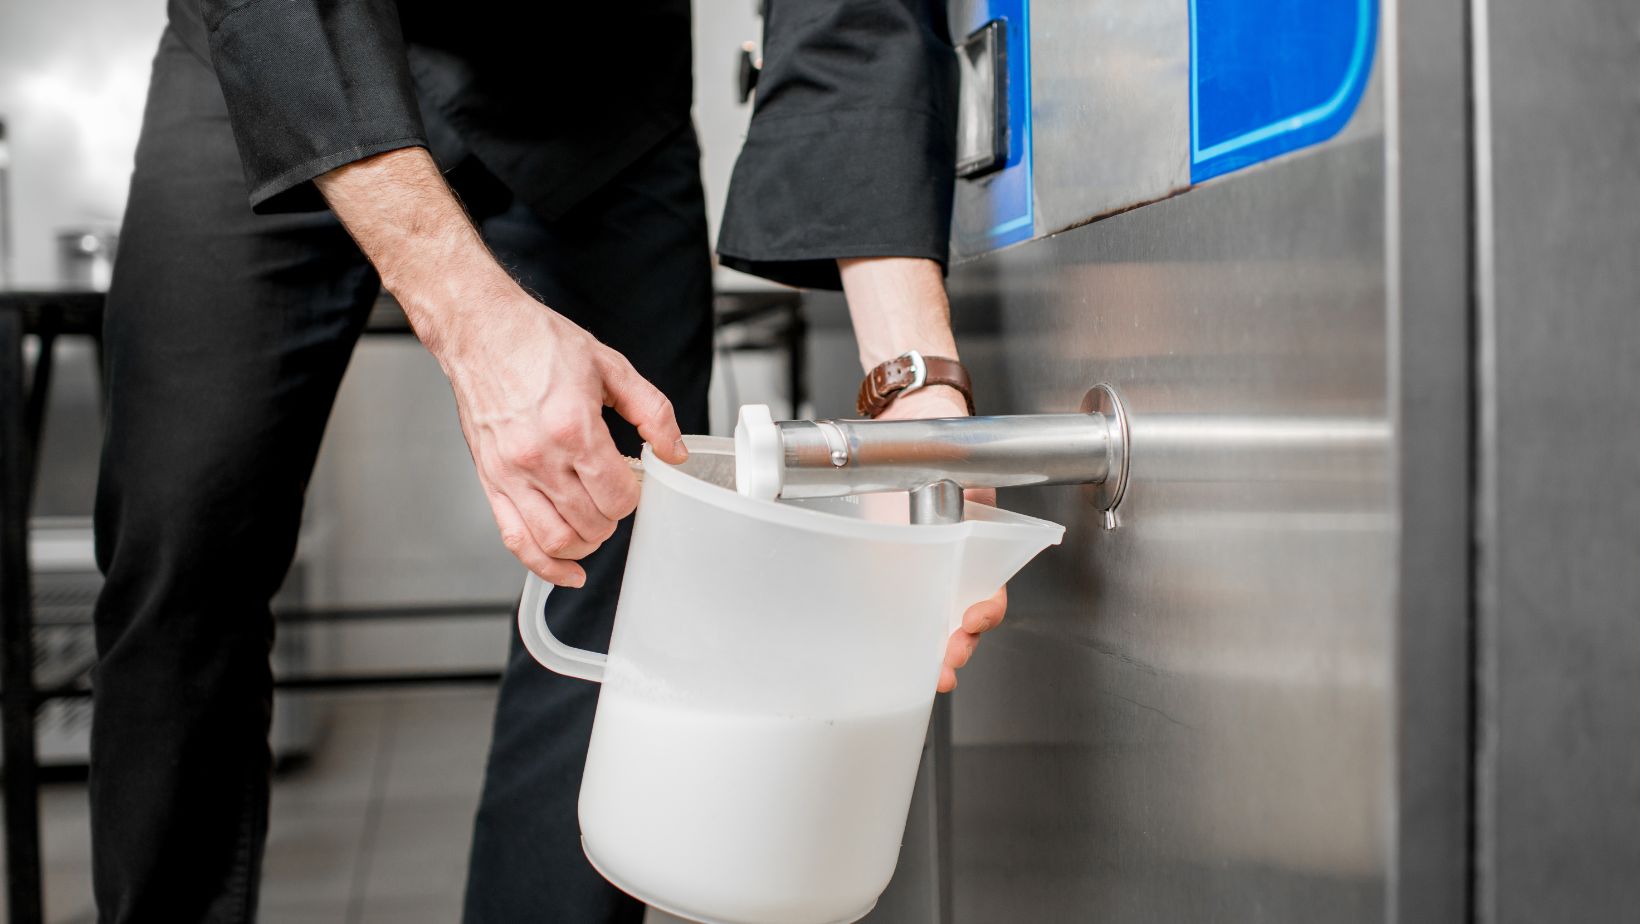
Making homemade yogurt is a satisfying process that allows you to enjoy a fresh, natural product right from the comfort of your home. Using a milk pasteurization machine by Milkyday can streamline the yogurt-making process, ensuring both safety and consistent results. With this machine, you can precisely control the temperature of your milk, a crucial factor in achieving the perfect yogurt texture and tanginess.
Pasteurizing milk before fermentation is an important step that shouldn’t be overlooked. The pasteurization process not only helps in eliminating potential pathogens but also denatured milk proteins, which can benefit the yogurt’s final texture. By pasteurizing the milk at the right temperature and duration, you prepare it as an ideal environment for the yogurt cultures to thrive.
Key Takeaways
- Pasteurizing milk is crucial for safety and texture.
- A milk pasteurization machine ensures precise temperature control.
- Proper pasteurization prepares milk for successful fermentation.
Preparing The Milk
In this section, we’ll explore the crucial steps for preparing milk to craft homemade yogurt, ensuring optimal taste and consistency.
Selecting Your Milk
Your choice of milk significantly impacts your yogurt’s texture and taste. Whole milk yields creamy, thick yogurt, while using skim milk results in a lighter product. Raw milk and local milk can also be used, but they must be pasteurized for safety.
Pasteurizing The Milk
Pasteurize your milk to eliminate harmful bacteria. Heat the milk in a milk pasteurizer until it reaches at least 161°F (72°C) for 15 seconds or use the slow cooker alternative if needed. A thermometer will help maintain accurate temperature control.
Cooling And Tempering
After pasteurization, cool the milk rapidly to 110°F (43°C). You can place the saucepan in a larger pan filled with ice water, stirring continuously. Temperature precision here is key, as it prepares the foundation for adding cultures.

Adding The Cultures
With the milk at the correct temperature, add the starter culture. This may be a small amount of plain yogurt with live active cultures or a purchased starter culture. Stir gently to evenly distribute the cultures throughout the milk.
Flavoring The Yogurt
Before incubation, you can add flavorings to the milk mixture. Incorporate natural sweeteners like honey or vanilla, or stir in sugar for a hint of sweetness. For fruit-flavored yogurt, consider adding pureed berries, cinnamon, or nuts.
Incubation Process
Incubate the milk at a steady temperature, between 110°F to 115°F (43°C to 46°C), using a yogurt maker, thermos, or insulated cooler. The warm environment encourages fermentation, and the duration can range from 4 to 12 hours, depending on desired tanginess.
Refrigeration And Storage
Once the yogurt has set, refrigerate it to halt the fermentation process. Store in quart-sized mason jars or smaller containers for individual servings. Proper refrigeration preserves the yogurt’s shelf life and maintains its flavor.
Understanding Consistency
For thicker, Greek-style yogurt, strain the yogurt through a cheesecloth to remove whey. The longer it strains, the thicker it will become. Adjust the cream content or straining time to achieve your preferred consistency.

Health And Safety Tips
Ensure your equipment is clean to prevent the growth of bad bacteria. Monitor the expiration of your starter culture for safety, and remember to always pasteurize milk, including raw or local selections, before making yogurt.
Troubleshooting Common Issues
If you encounter issues like curdling or separation, check your incubation temperature. Adjusting the heat, incubation time, or ensuring more careful temperature monitoring during pasteurization can resolve many texture problems. For taste adjustments, consider changing the type of milk or the amount of flavorings.
Conclusion
Making yogurt at home using a pasteurization machine is a process that ensures both safety and quality. By heating milk to the correct temperature, you eliminate any potentially harmful bacteria, creating a clean slate for your yogurt culture to work. With the right equipment, such as a yogurt maker or an incubator, and precise temperature control, your homemade yogurt will not only taste great but will also be customized to your preference for thickness and tanginess. Remember, patience is key as the fermentation process cannot be rushed, but the end result is a healthful and satisfying product that you can be proud of.


